Have you ever wondered why professional paint jobs look so good? If yes, you should know that any professional painting project starts with proper wall preparation. How can you prepare your walls to make paint look great and last longer? Keep reading to find out.

Get the Right Supplies
Before you get started, you might want to have on hand a few essentials, such as a stepladder, paint scraper, spackle, filling knife or caulking gun, sandpaper, a sanding block or an electric sander, tape, paintbrushes, roller, paint tray or grid, telescoping extension pole, rags to protect the floor, a good-quality primer, and paint.
Besides all these, a painter who takes wall prep seriously will choose a series of products to achieve blemish-free surfaces for a durable, beautiful paint job.
- Fillers – Today, you can find a wide variety of fillers available as dry powders soluble in water or ready-mixed products in tubes with nozzles. Put an appropriate filler (e.g. a water-resistant filler for kitchen and bathroom or a flexible gap filler for cracks where movement occurs, such as around window and door frames) on your scrapper or filling knife to cover small holes or cracks.
- Base coats – Base coats are used to achieve optimal wall surface smoothness. These products have been especially formulated by combining thick paints augmented with plasticizers and fillers to cover minor imperfections, such as hairline cracks.
- Skim coats – Skimming delivers the best way to fix major wall damage and uneven surfaces. It basically involves applying a thin coat of plaster to the wall. A special “bonding” product, such as a coat of polyvinyl acetate (PVA), should be used prior to applying the plaster to ensure good adhesion between coating and wall.
Professional Painting: Tips to Preparing Your Walls
So, you’re about to start working on a painting project. Here’s how you can achieve the best possible results:
- Caulking – If you’re noticing any cracks in walls, you can use latex caulk or a latex-silicone blend, which is more appropriate to fill the gaps surrounding woodwork. Latex-silicone caulks can also be used indoors and outdoors. Use a caulking gun (or the caulk tube, with the nozzle cut at a 45-degree angle) to apply an even flow of caulk into gaps. Then, smooth the caulk with your finger, wiping away any excess. Since caulk isn’t sandable, you need to smooth the caulk very well to get a perfect joint.
- Re-plastering – Re-plastering walls is usually necessary to repair large cracks or holes. Typically, re-plastering requires removing the old plaster and applying a new coat of coarse plaster followed by a smooth skim coat. Since plastering is a messy, difficult job, you may want to consider hiring a professional.
- Leveling and smoothing – Certain colors and finishes can bring out wall imperfections, drastically decreasing the quality of your painting project. For perfect results, you must examine every inch of your walls and fix any errors you observe, including cracks, holes, waves, bumps, etc.
- Sanding and cleaning – After all the repairs are done, sand and clean walls properly. You can use a vacuum cleaner or a wall washing solution. An anti-mold product should be used in areas affected by mold.
A few more tips for durable, quality professional painting are:
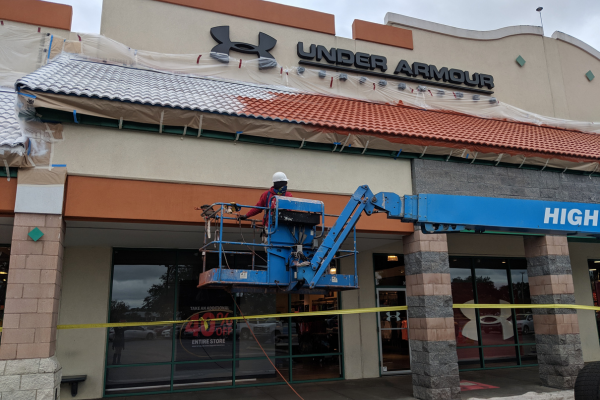
- if you’re planning to paint the exterior as well, clean and repaint your gutters before preparing the walls;
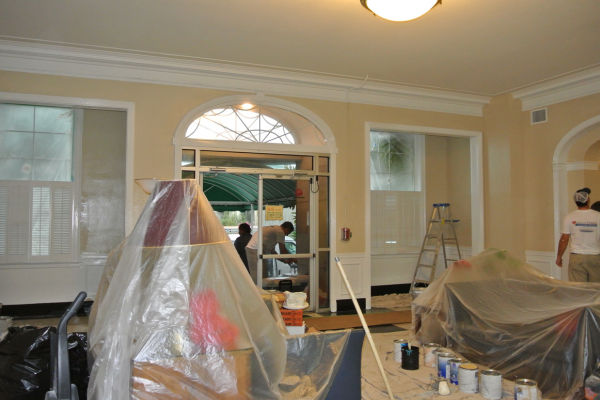
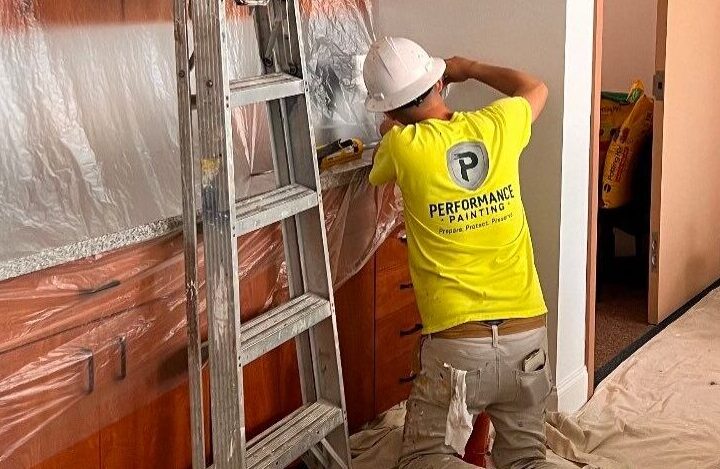
- if you’re painting the interior, remove everything you can; cover remaining furniture with plastic sheeting, and all plugs, switches, moldings, baseboards, smoke detectors, etc. with tape;
- whether you’re painting the exterior or interior, use a high-quality paint.


