“I’ve been living in this old house for six years and never repainted. But now, the paint is peeling badly in all the rooms. Wouldn’t it be easier to replace drywall instead of preparing walls for painting?”
This is one of the most common questions we receive from homeowners planning do-it-yourself home improvement projects. We invariably give the same answer: Unless drywall has been severely damaged, preparing walls for painting is easier than many people think. Here is a step-by-step guide most professional painters follow to produce first-class results.
- Identify and eliminate the causes of peeling paint. There are two main causes of peeling paint: 1)
 insufficient surface preparation; 2) damp walls. If peeling paint is the result of poor surface preparation, scrape off the old paint, make repairs if necessary, sand and dust the walls, and apply a solid primer to ensure a lasting finish. If moisture accumulation in walls is the prime culprit responsible for peeling paint, you need to determine and fix the sources of moisture before preparing walls for painting. For this, you should inspect your home’s exterior and repair wall defects, leaky gutters, and downspouts. Additionally, waterproofing your exterior can help prevent future moisture problems, which are very common in Florida. If the paint is peeling on a wall next to your bathroom, it indicates condensation problems. To get rid of these problems, waterproof your bathroom.
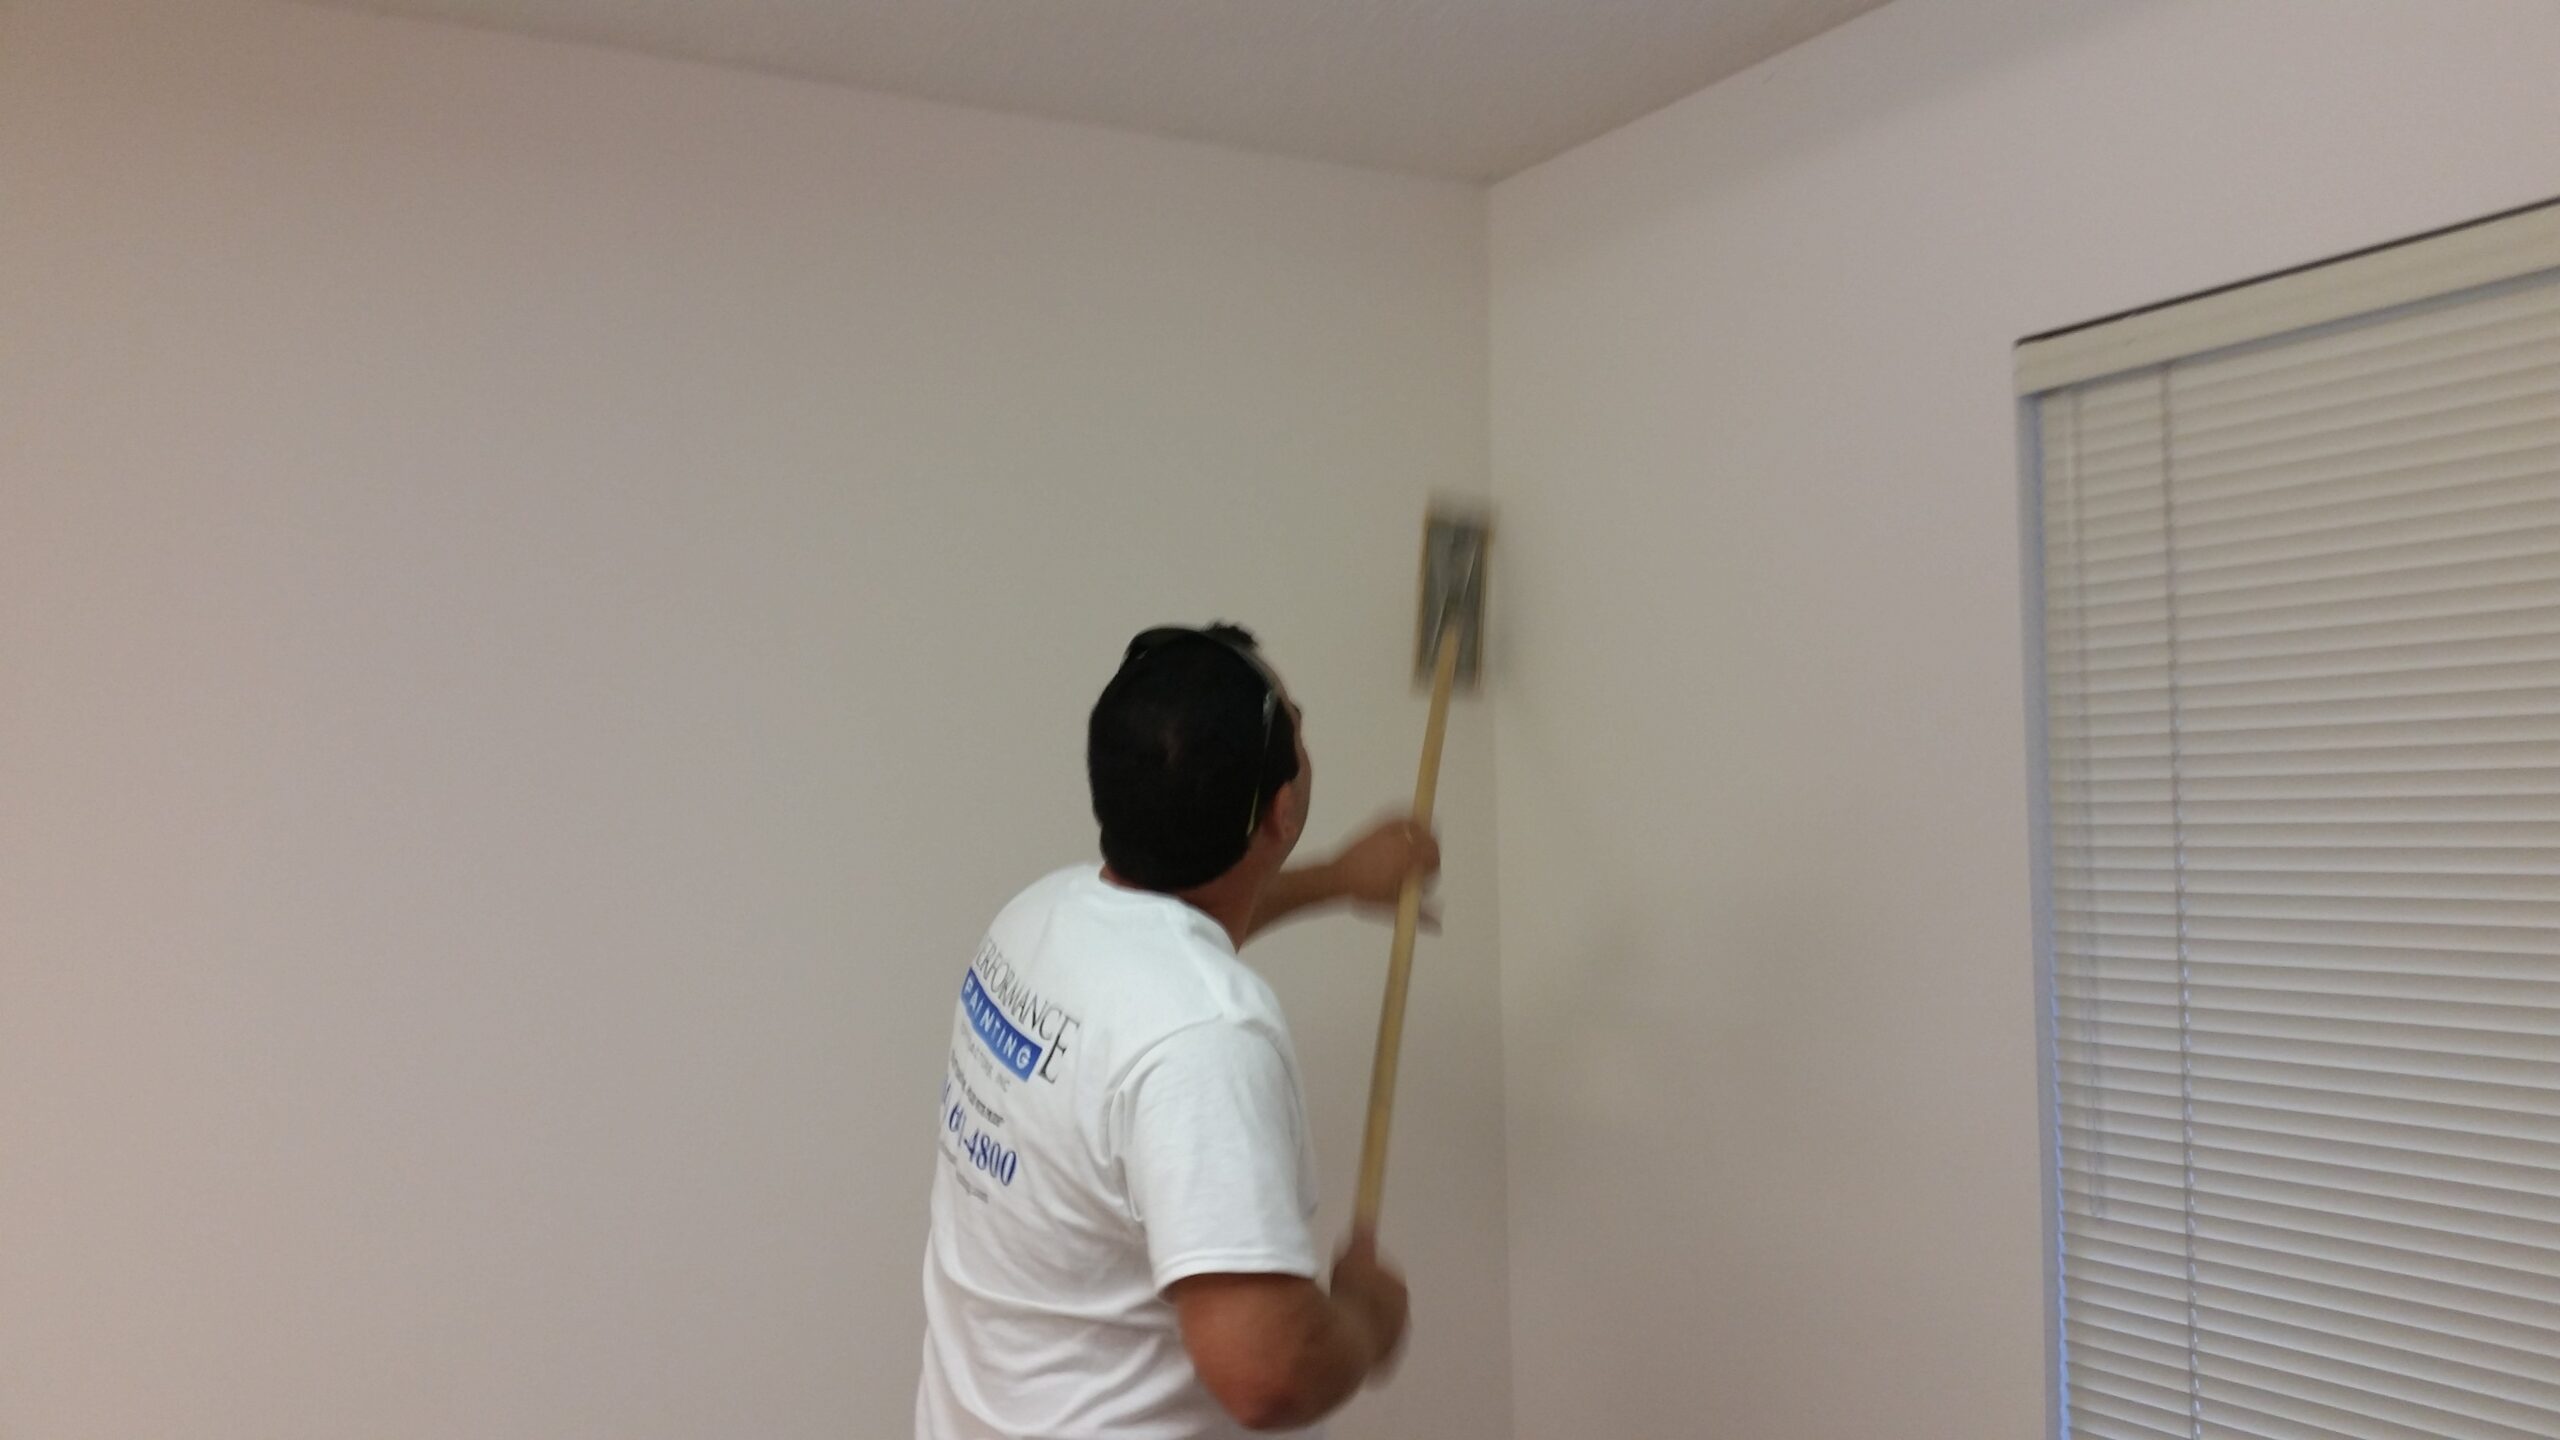
- Clean your walls. Cleaning walls properly before painting is essential to ensure good paint adhesion. If you’re planning on painting your interior, use a damp cloth to remove the dust and cobwebs. Clean dirty walls (e.g. kitchen and bathroom walls) with a TSP-bleach solution, rinse with clean water, and let them dry. You can apply the same solution to your old trim if you intend to repaint it as well. A TSP-bleach solution is very effective not only in removing grease, oil stains, mold and killing mold spores but also in de-glossing paint and roughening surfaces to ensure good adhesion between the substrate and the new coat of paint. If you want to take a slightly different approach to preparing exterior walls for painting, you may want to consider pressure washing.
- Fix cracks and holes. The idea of painting a surface as soon as it has been cleaned is very tempting. But to end up with a perfect paint job, you need to repair all the defects first. To fill cracks and holes, opt for a high-quality joint compound, plaster, filler, or painter’s putty and use the product according to the instructions provided. Also, choose the right product for patching cracks, holes, and dents in woodwork. Then, sand the repairs and wipe away the dust.
- Prime surfaces. When preparing walls for painting, priming surfaces is very important to make your paint job last for years to come. Acting as a “coverall,” a good-quality primer can hide imperfections, block stains, and ensure better paint adhesion. You can use a stain-blocking primer to spot prime repaired drywall areas first; let the product dry and then apply the primer to the entire surface. Don’t forget to prime the woodwork as well before painting it.
Additional Tips for a Perfect Paint Job
- For a smoother surface, re-sand the walls lightly after the primer has dried;
- To prevent cracking, bubbling, and peeling paint, allow the primer to dry thoroughly before applying the paint;
- For clean, professional-looking results, use a high-quality painter’s tape, such as Frog Tape from Shurtape;
- Mix the paint properly before using it to ensure consistent color and gloss levels.
{{cta(‘037e27d8-81d7-4315-bcdf-99a0e928868c’)}}