Properly preparing walls for painting typically ensures high-quality and long-lasting results. To help you avoid a series of problems, such as bubbling, cracking, chipping, and flaking, our professional painters have decided to share 10 secrets to painting perfection.
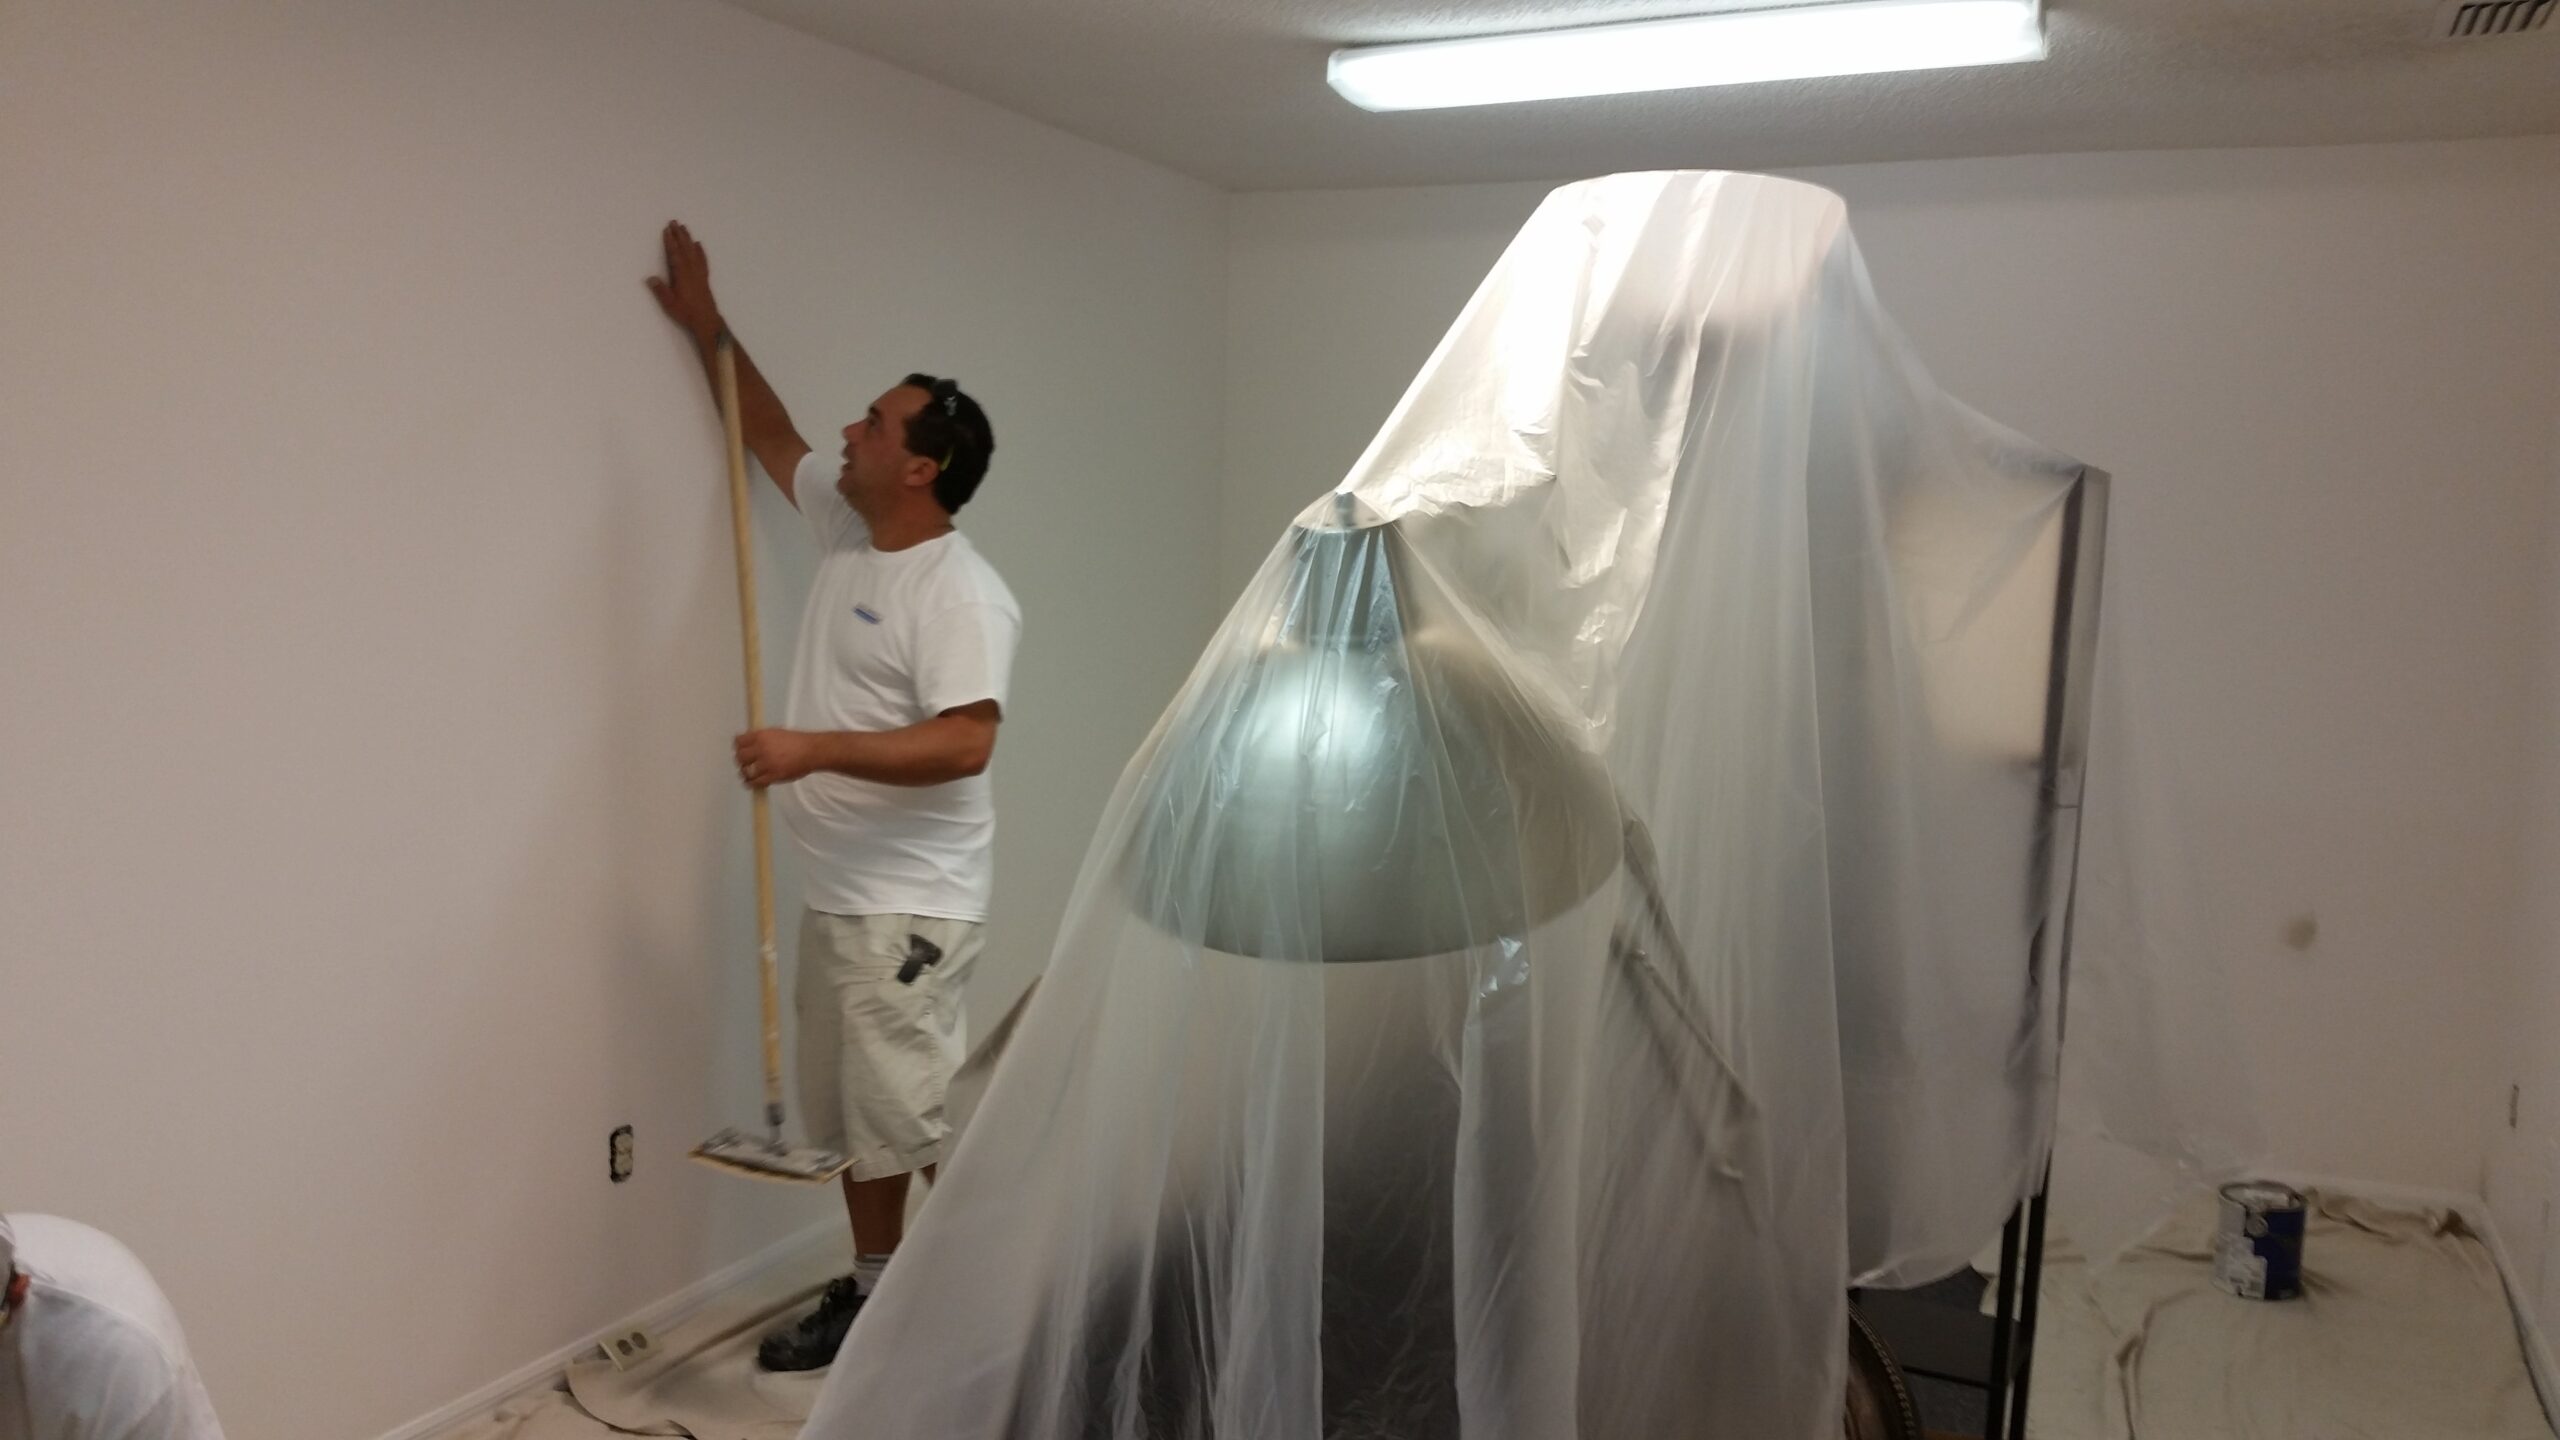
- Clean surfaces. If the surface is perfect, with no cracks, dents, peeling or flaking paint, there are two things you need to do: 1. sand the walls to get a smoother surface and improve the adhesion properties of the substrate; 2. dust interior walls or wash exterior walls with a mild detergent solution, rinse with clean water, and let them dry completely.
- Apply a degreaser. Paint won’t bond to a greasy surface. For this reason, it’s imperative to use a good-quality degreaser that can cut through grease accumulation on walls, especially in areas above the stove and around light switches.
- Strip off old paint. If painted surfaces are in poor condition, remove the old paint with a wire brush or a scraper. You can also apply a chemical paint remover to soften the paint before using the scraper. After removing the paint, use sandpaper to get rid of remaining traces and smooth away
 imperfections. Then, clean or rinse the surface and let it dry before applying the primer.
- Remove mold. Painting over mold is a very bad idea, even if you use paint with mold-growth inhibitors. That’s because mold will reappear shortly, especially in Florida’s humid climate. When preparing walls for painting, it’s critical not only to eliminate the mold completely but also to identify the cause of mold growth. Since moisture facilitates mold growth, you may want to consider waterproofing exterior walls.
- Make repairs. Repair all the holes and cracks using a painter’s putty or joint compound or a high-quality plaster or filler. Smooth all the repairs along with rough and raised spots with sandpaper and remove the dust before applying the primer.
- Fix large holes with aluminum patches. The aluminum patches available at home improvement stores provide an easy way to fix holes smaller than four inches in drywall. After you cut the patch and place it over the hole (the patch has a sticky side that ensures good adhesion to walls), cover the patch with joint compound, let it dry, sand the surface and repeat if necassary.
- Use masking tape with caution. Not only can the paint bleed behind the tape; the tape can also tear the skin some paints form (e.g. latex paints) when you remove it from the surface. For good results, use Frog Tape by Shurtape and follow the instructions given on the package. This will help produce nice sharp paint lines.
- Seal stains. When preparing walls for painting, you can cover stains with a stain-blocking primer. For a uniform appearance, apply the primer on the affected areas with a roller, in the same direction you’ll paint the wall.
- Scrape away textured ceilings. Painting the top of walls without touching the small bumps on a textured ceiling is almost impossible. With a screwdriver, scrape off a tiny ridge along the ceiling. When you paint, the tip of the brush will go into the ridge without touching the ceiling texture.
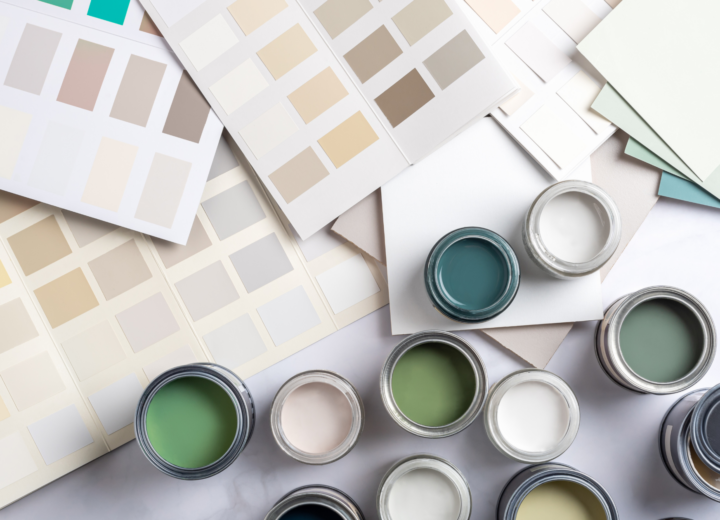
- Use a tinted primer. Using a tinted primer close to the color you’ve chosen for walls will help you get a more vibrant, unified finish. This is especially true with warm pastels, such as light beige, yellow, or orange.
To find out more about preparing walls for painting, contact us at Performance Painting. Our professional painters have the knowledge, skills, and experience to produce top-notch results, under almost any circumstance.

