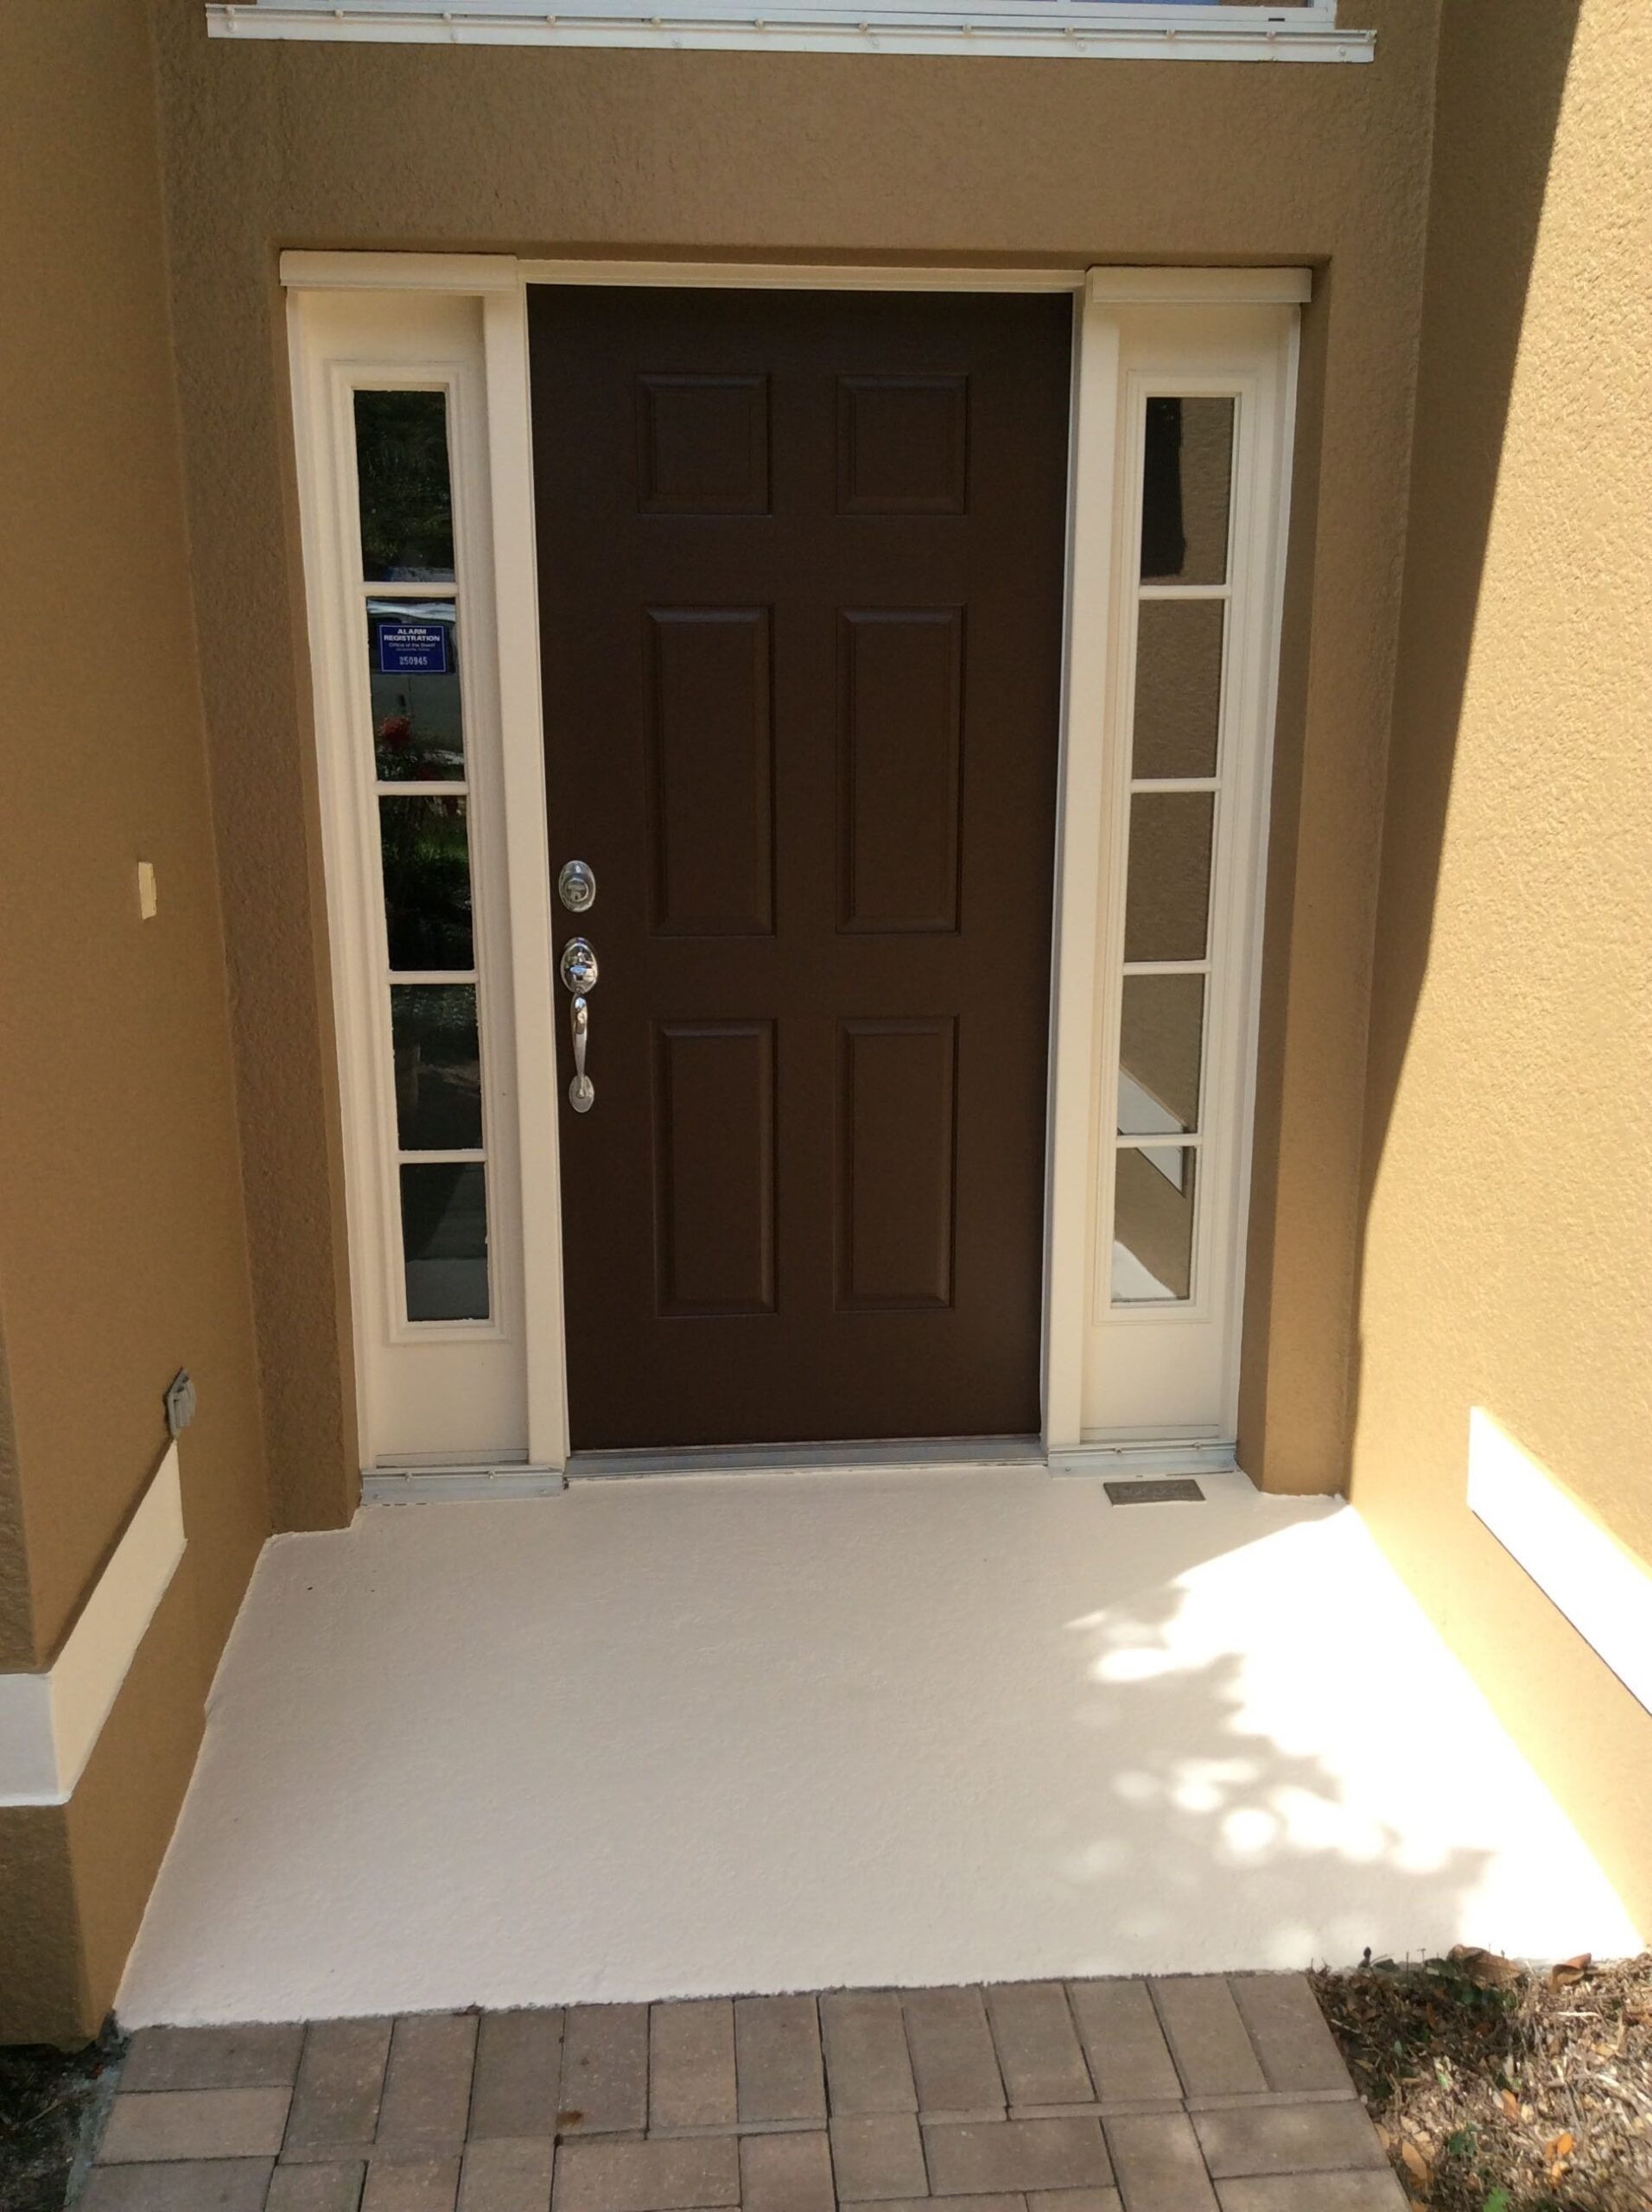
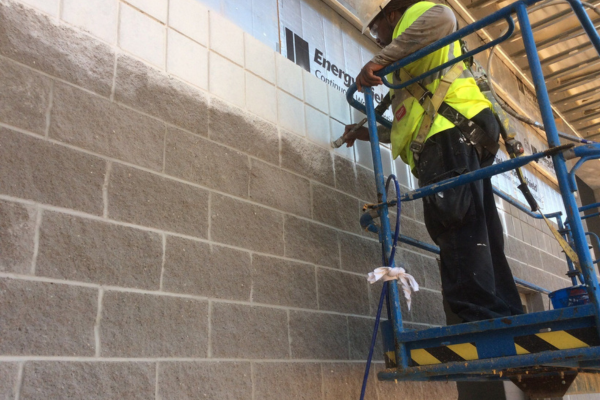
Brightening up your front door with a new eye-catching hue is an excellent way to freshen up your home’s curb appeal. But although painting a door may seem like a simple task, it is not. Proper surface preparation, correct paint application techniques and adequate selection of colors are a few things you need to consider for a long-lasting, professional-looking paint job.
As preparing a wooden door for painting involves the same steps as preparing any other elements
 made of wood, we invite you to read our blog post on how to prepare wood for painting. However, there are a few aspects we would like to highlight:
- make sure you choose the right filler for patching cracks, holes or dents in your door;
- let the filler dry completely before sanding the surface;
- don’t forget to remove the sanding dust before applying the primer.
Other essentials to keep in mind is that removing the door from its hinges and all of the hardware, such as the handle, deadbolt cylinder, knocker, etc., will make wood preparation and painting easier. Doing this won’t only save you a lot of time but also allow you to achieve a neater paint job.
So, you’ve just found out the steps you need to follow in order to prepare a wooden door for painting. Next, we’re going to focus on color selection and paint application.
Color Selection
Though using certain door colors can help you add an extravagant, interesting twist that will wow your neighbors, the next two tips from our experienced residential painting contractors can help you avoid going overboard.
- Choose a color that suits your home – For the best results, you must ensure the color you intend to select goes well with the other elements of your home, including walls, gutters, downspouts, trim, molding, shutters, etc. But considering the architectural style of your home when picking door colors is equally important. While warm, fresh pastels like pale blue, soft green or dusty rose coordinate well with the cottage style, colonial or Victorian architecture will benefit from a very light- or dark-colored front door. For a home made entirely out of brick, we recommend painting the door an inviting shade like burnt orange, reddish brown or cream. Also, a front door painted a gorgeous earthy shade like taupe or ochre can do wonders for a Mediterranean home.
- Choose a color to express your personality – Colors can vary greatly according to the source of light and time of day. Therefore, residential painting contractors advise that homeowners observe colors in natural light, at different times of day before they commit to a certain hue. If you intend to choose a front-door color based on what it looks like in artificial lighting, you may end up with a shade that looks great inside and just horrible outside. Also, since there are many similar hues out there, you may pick a shade that’s completely different from what you have in mind and doesn’t reflect your personal style.
Paint Application
Before we talk about painting door tips, lets’ focus a little bit on the tools and materials you need. The most important tools for painting a door are paintbrushes, paint roller, paint tray and rags. In terms of materials, you need a good-quality paint product specifically designed for outdoor use. If you intend to preserve the natural appearance of the wood grain, you need a stain and/or a sealer instead of paint.
Once you get all the things you need to complete your wood painting project, applying the paint following the right application techniques can make a huge difference in the end result. Here are a few tips you should consider when painting your door.
- Always ensure that the primer is compatible with the finish coat.
- Don’t apply paint over a damp or wet surface, or extreme hot days, in the rain, or during windy weather; moisture, rainwater, dust particles and extreme heat can ruin your paint job;
- Using a wide paintbrush, paint the edges of the door first; if you have a paneled door, paint the bevels and panels first, then move on to center stile, rails and outer stiles;
- If any excess paint slops onto the face of the door, wiping it with a clean, dry cloth immediately will prevent ridges on the surface;
- With the same paintbrush, apply paint in the corners and crevices of the door; then, using a small roller, paint one side of the door, from the top down, rolling lightly in a back and forth manner until you obtain a smooth paint film that covers the entire door surface;
- Before flipping the door to paint the other side, make sure the paint applied on the first side has dried completely; once you rotate the door to the other side, repeat the operation described above;
- Paint applied in thin layers can reach a sticky consistency in a matter of minutes; if you take a break before you finish one side of the door, the paint may become too stiff to level out perfectly later on;
- Generally, two coats of paint should be applied for a smooth, level finish; make sure you allow each coat of paint to dry completely before applying the next coat;
- Let the paint dry properly before attempting to move the door; to see if the paint is still tacky, lightly touch an inconspicuous area; once the paint feels dry to the touch, you can install the hardware and reattach your door to its frame.
For a flawless paint job, it’s also important to choose the right type of paint. High-performance acrylic paints labeled “door and trim” or “enamel” are some of the best products available on the market. Though these paints take longer to dry compared to other products, they provide a smooth surface, even when the person doing the job isn’t a professional.
To learn more about painting a door, other projects, or to require a free painting estimate, feel free to contact our friendly professional painters at anytime in Jacksonville or Tampa, FL. Performance Painting Contractors is ready to provide you with quality and reliable service from start to finish.


