Transforming your old cabinets with stain is a relatively inexpensive and effective way to give your Florida home a facelift, make it more appealing to potential buyers and even increase its market value. What’s more, breathing new life into your old cabinets isn’t that difficult. But before launching your cabinet refinishing project, we invite you to read on for some basic guidelines our Florida residential painting contractors have put together for passionate DIYers.
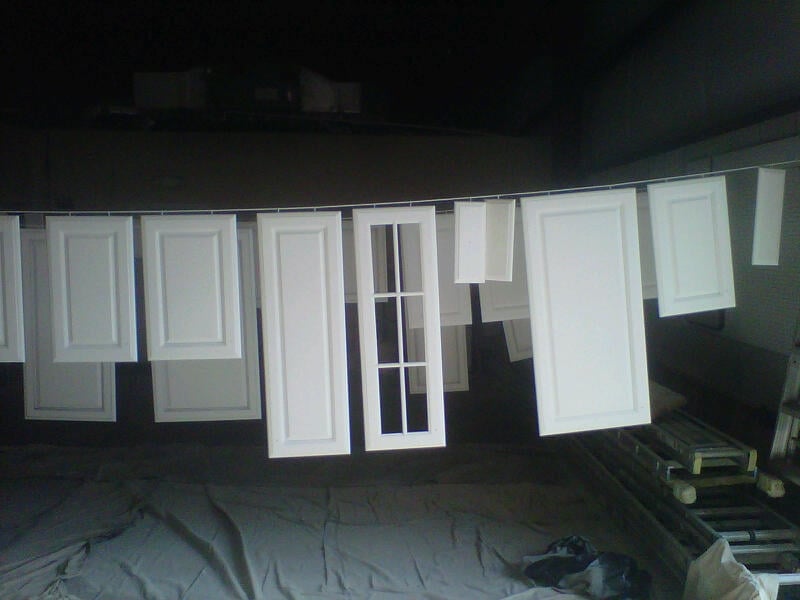
Step 1: Remove all components
Some people may advise you to refinish your cabinets without removing the doors and shelves. But our painters don’t recommend it. You can get much better results if you detach the doors from the cabinets, remove all the handles and knobs, and take out the shelves and drawers.
Tip: Since it’s very easy to lose track of cabinet hardware and fasteners, keep everything together in a box or zip-lock bags. Also, you may want to label each door and drawer in order to easily match them up when reassembling your cabinets.
Step 2: Clean your cabinets
Cabinets accumulate dirt, grease and grime. Since stain doesn’t adhere properly to dirty or greasy surfaces, wipe down all cabinets with a soft cloth dampened with mineral spirits. To remove all the dirt, go over each side two times, turning the cloth as you wipe.
Tip: If you use a kitchen degreaser or a natural cleaner (e.g. hot water mixed with distilled vinegar) instead of mineral spirits, let your cabinets dry thoroughly before proceeding to the next step.
Step 3: Make repairs and sand surfaces
Before refacing your old cabinets with stain, you need to remove old stain or paint to achieve a perfect, durable finish. Using 150-grit sandpaper and a sanding block, sand all surfaces with long, even and straight strokes, moving the sanding block back and forth in the direction of the grain to avoid leaving unsightly scratches behind. Then, fill small holes, cracks and dents with a good quality wood filler. Once the filler has dried, re-sand all surfaces with 220-grit sandpaper, following the same technique described above.
Tip: To reduce the need for sanding, smooth out the uncured filler with a wet finger. To sand the trim and molding, use a fine-grit sanding sponge, which can better conform to grooves, curves, cut-outs, nooks and crannies. Also, wipe off the sanding residue from all the surfaces with a clean, damp rag before applying the stain.
Step 4: cabinets
One of the easiest ways to update your old cabinets with stain is to use a tinted polyurethane varnish. Since this formulation combines stain and varnish, you don’t need to buy and apply two separate products.
Tip: The key to applying a perfect coat of stain is to put down a smooth, even film, without over-brushing. If multiple coats are required, make sure the base coat is fully dry before re-coating. For an aesthetically pleasant cabinet refinishing job, allow the stain to dry for the recommended amount of time and apply one or two coats of a clear finish. To avoid subsequent repair work, let the cabinets and doors dry completely before reinstalling the hardware and re-hanging the doors.
Performance Painting Contractors is one of the few highly trained, fully qualified and experienced residential painting contractors who can bring your home improvement project to a successful completion. Our workers are specialized in a wide range of services, including interior and exterior painting along with the preparation of different wall surfaces, wallpaper removal, pressure washing, wood staining, deck restoration, rotted wood repair and replacement, metal roof re-coating and epoxy applications in any residential space. To discuss your home improvement project in detail, feel free to contact our customer service teams today at (904)-641-4800 in Jacksonville or at (813)-308-0388 in Tampa, FL.