Removing wallpaper can be a real pain. In fact, this task is one of the most difficult and annoying DIY projects for a homeowner. But stripping off old wallpaper is very important for the best results to be achieved when installing new wall coverings.
Practical Tips on Removing Wallpaper
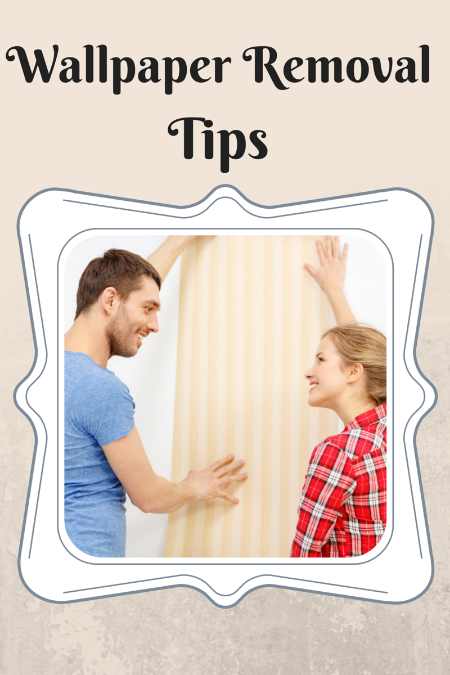 Because new wallpapers adhere much better to a stripped-down, clean surface, here are ten wallpaper removal tips that could help you get rid of old wall coverings easily and quickly.
- Determine the type of material. By determining the type of wallpaper and adhesive used along with the surface underneath, you can easily decide on the most appropriate and efficient approach to taking off wallpaper. If you have a drywall construction (gypsum combined with gray or white paper), be extremely careful when soaking the wall or use tools to scrape off the wallpaper, as the surface can be irreversibly damaged. In case of a plaster-wall construction, you can use any technique without worrying about the surface.
- Protect your floor. Water and solvents can stain floors. To protect your floor, place absorbent rags or towels at the base of your walls.
- You can keep old wall coverings. If you intend to paper over old wall coverings, you must ensure that the old wallpaper is firmly attached to the wall. Additionally, it must provide a flat, smooth surface. If you observe any defects, such as bubbles, loose seams, or curling corners that cannot be repaired properly, you should remove the entire wallpaper.
- Scrape off the old wallpaper. If you have “strippable” wallpaper, you can easily remove it by pulling down at a 30-degree angle. For regular wall coverings, you should mix hot water or wallpaper-removing solvents with cellulose paste. The mixture will hold the water/solvent on the wall, which is key to easy, efficient wallpaper removal. Water-resistant wallpapers should be scored with a wire-bristle brush before applying the mixture.
- Soak the right area. Over wetting walls will prevent you from removing sizeable chunks of wallpaper at once, extending the duration of your project. Experts advise homeowners to wet down an area they can scrap off in about ten minutes, and then move to another area.
- Try Steaming. If the wallpaper doesn’t peel off easily, you can use steam. After steaming about half of the area, lift a corner and try to take off the wallpaper. If it doesn’t come off, steam the area once again to loosen the adhesive behind the wallpaper.
- Remove adhesive residue. Regardless of the wallpaper removal technique you use, some adhesive will always be left behind. To remove glue residue, you can opt for steam, hot water, or wallpaper-removing solvent. Use a paint roller to ensure a consistent delivery of water or solvent.
- Sand away stubborn residue. Sometimes, removing old wall coverings completely is almost impossible. In this case, you should let the wall dry properly, and then use a coarse sandpaper to remove traces of wallpaper.
- Prime your wall. After repairing cracks and gouges, and sanding the wall, it’s time to apply a high-quality primer. Without a primer, the wallpaper won’t stick properly to the wall, regardless of what type of adhesive you’ll use. In mold-prone areas, the walls should be washed with a mixture of water and bleach, dried, and then treated with an alkyd primer.
- Let it dry. Letting the wall dry completely before and after priming it is critical to prevent the new wallpaper from peeling off.
A last piece of advice: applying two coats of primer on new, unsealed wallboards will deliver a strippable coating for easier wallpaper removal in future applications.